|
Click for full size photos
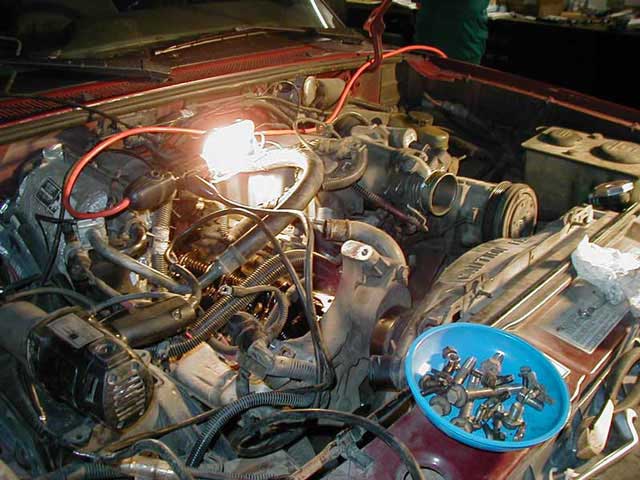
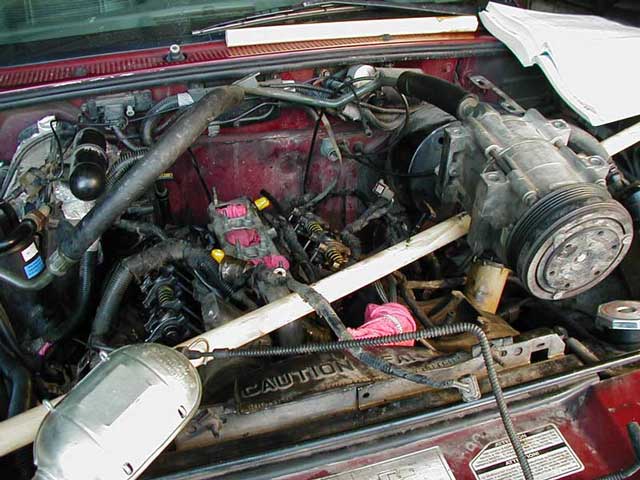
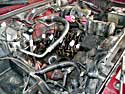
Here is the removal of the alternator, battery, MAS and tubing, that is in the
way and also the right hand side valve cover. The anti-freeze coolant was the
only fluid drained for this procedure. The fan belt was also removed. The
removal of the hood is a must for this project.
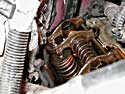
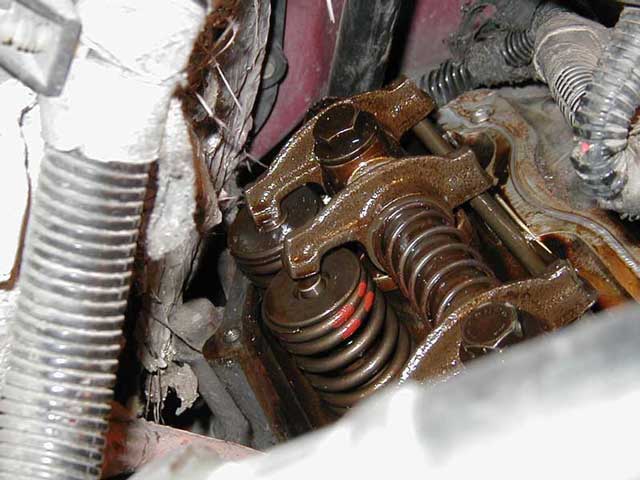
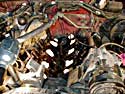
Just by removing the valve cover you can see the gap between the
top of the valve and the rocker arm. That was the worst of the lifters. It had
completely collapsed inside.
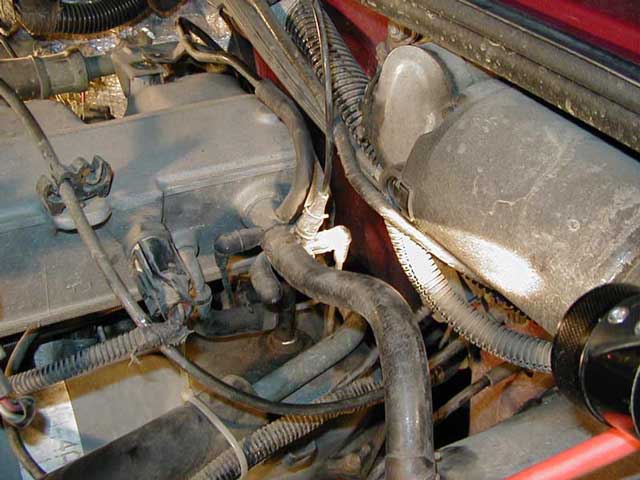
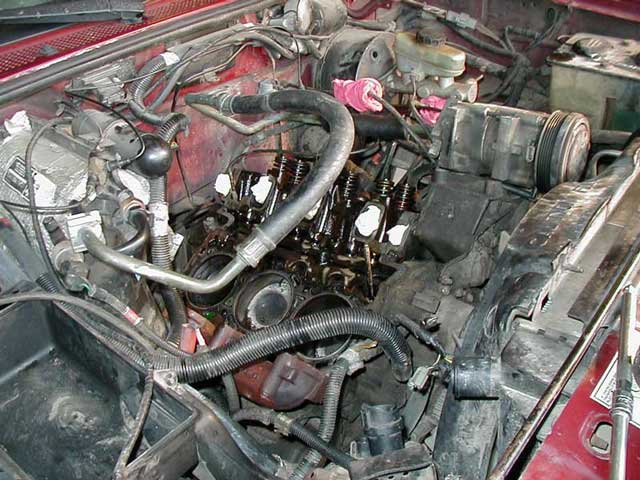
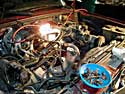
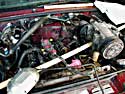
This is just a reference shot. We used this picture later so we could hook all
the vacuum lines back up. Obviously be careful with the 10 year old plastic
vacuum lines. They'll snap easy.

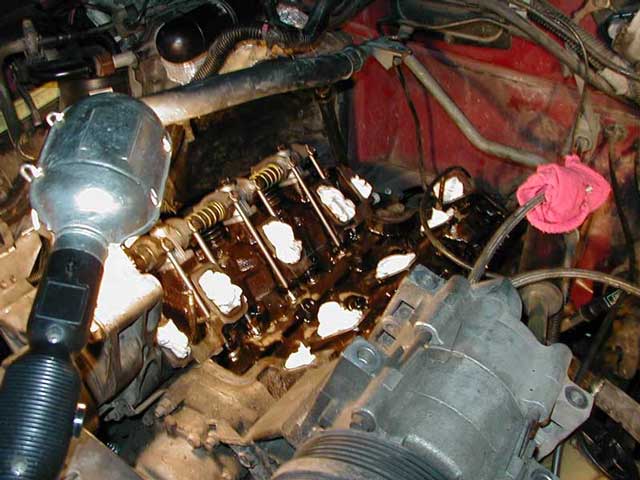
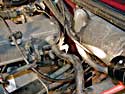
Both valve covers removed and the upper intake manifold. Here is where you can
see that the lifters won't come out without taking off the heads. The A/C
compressor was unbolted and moved forward. It got moved around a lot during this
project. We did not need to evacuate the A/C system.
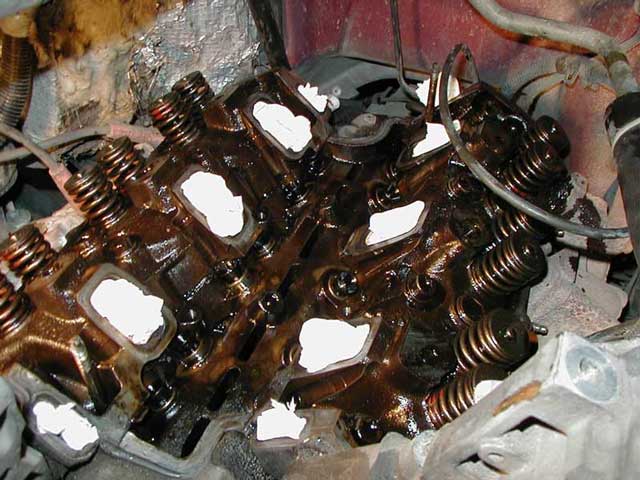
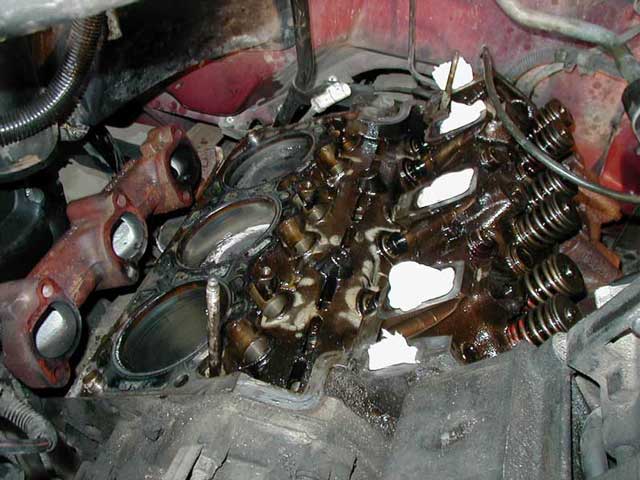
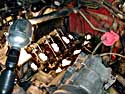
Lower intake manifold removed along with both rocker arm shaft assemblies and
push rods. Now in plain sight it becomes clear that the lifters will definitely
not come out with the heads in place.
You can move the lifters up, but there is a small part of each head that
prevents the removal of all lifters. The heads make a shelf that over hangs the
lifters.
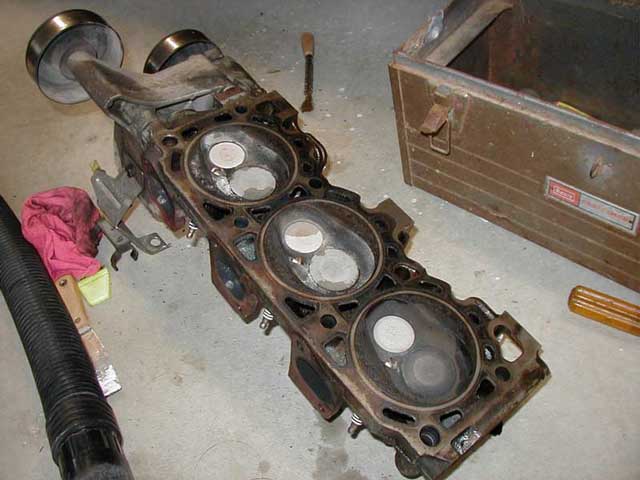
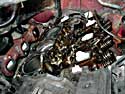
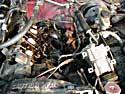
And there is the right head. Doesn't look too bad after 200K miles. All we did
to the heads and block was to scrape the old gaskets off and reapply the new
ones. This shot is before a clean up, so you can see some of the water passages
have some build up between the head and the block. A shop vac and a little screw
driver was used to suck all that debris out. The shop vac worked great for
getting rid of all the gasket and gunk scrapings that got everywhere. You can
also see that we left the pulleys and bracket attached. Every little bit helps
to save time. But the A/C and power steering pump bracket was removed from the
left head.
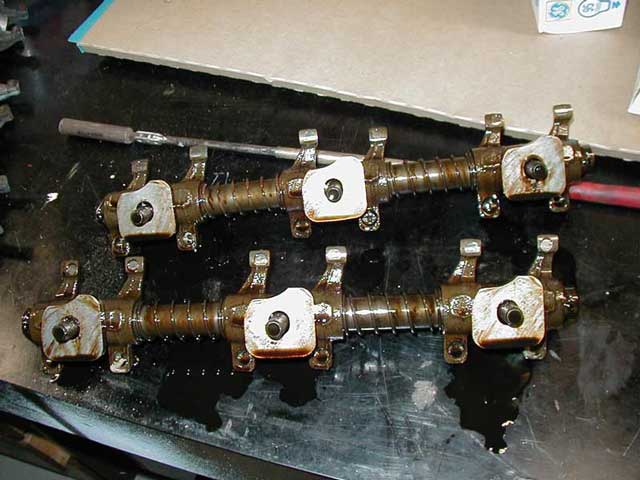
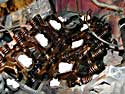
Here is both rocker arm shaft assemblies. just about every arm had a very
noticeable circular depression worn in from the top of the valves. Also the cups
on the other side of the arms suffered from the same wear.
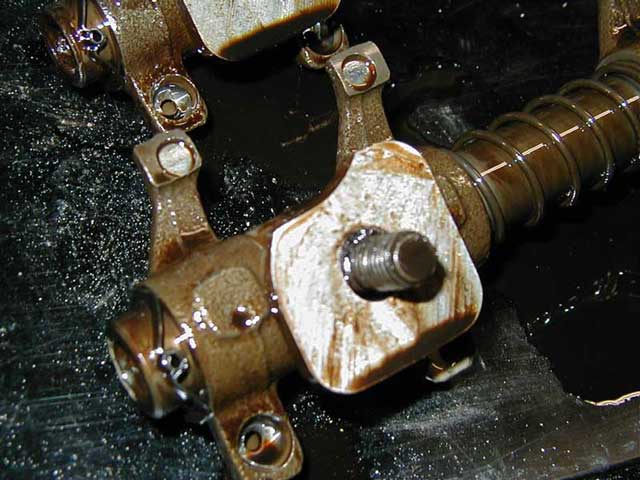
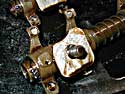 Close-up
of rocker arms. Those should be perfectly flat across. It's hard to tell with a
picture. The push rods sit down lower in the cup on the old rocker arms compared
to the new ones. All those little variances add up to make for a noisy engine.
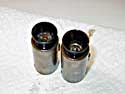
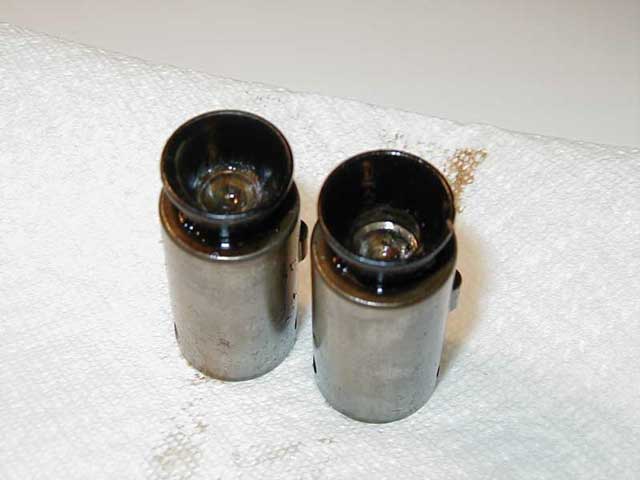
The lifters were the reason for the noise. Most of the lifters had collapsed.
The one on the right is sitting lower then the other old one on the left. This
is why there is so much play between the rocker arms and the valves. Which in
turn wears out everything else.
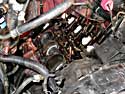
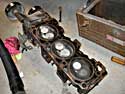
I didn't really plan on seeing my pistons before going into this. Also as a side
note, we used about half a can of Liquid Wrench on the exhaust manifold bolts.
You can't get those off without using a liberal dousing and letting those bolts
soak.
This view shows that we left the exhaust manifolds where they were. The curious
thing was that there were no gaskets between the heads and the exhaust manifold.
However new gaskets where installed. You can even see on the number 3 piston
that there was blow-by cause by not having a gasket installed.
Another view to help show everything that has been moved or removed.
Here is the new rocker arm shaft assembly, push rods, and roller lifters on the
left side.
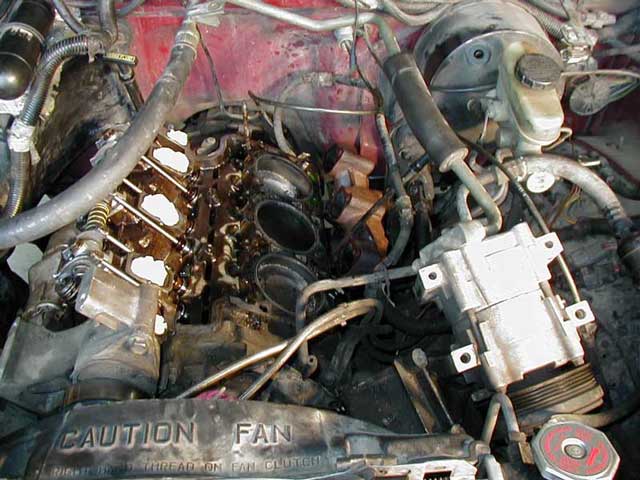
Left side with no head and the A/C compressor hanging on for dear life.

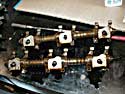
Both sides outfitted with new rocker arm shaft assemblies, push rods, and
lifters.
Getting the lower intake manifold back on. We put in a stick to hold up the
compressor. If it wasn't for the heads needing to come off this is pretty much
as far as it would need to go. You might not even have to take the upper intake
manifold off, but it makes things much easier to work there.
And the rest is just reverse of the above minus the old parts. Obviously read up
ahead of time before even popping the hood. Each engine can be slightly
different. My engine was all iron (even the heads) except the upper and lower
intake manifold and they where aluminum. Do be careful when you torque anything
that bolts down to aluminum. It takes much less force then you'd think.
Torque specs might be listed in "inch-lbs" instead of "foot-lbs" when dealing
with aluminum. Luckily there wasn't much need for labeling electrical
connectors because most of them can be hooked back up by process of elimination.
However the vacuum
lines are important to label or at least make note of what goes where.
This truck is not lifted, but I would take the two front tires off to lower
the front end. Plus several bolts on the exhaust manifold can be reached via the
wheel wells. Make sure you take your time and double and triple check every
connector and vacuum line before you fire it up.
Total for all of this...
- $450 for parts and gaskets
- 11 hours over 3 days
- 6 pack of beer
- 1 trip to the auto parts store
- 1 evening in a hot tub
- And about 10 minutes of shear terror when we first started it up.
To our disbelief when we started the engine, it made the exact same sound as
it did before. But only for 10 minutes. Oil takes a while to get into those
lifters. Even after soaking and being primed while submerged in motor oil
prior to being installed.
EXPLORER HOME | MORE
EXPLORERS
|